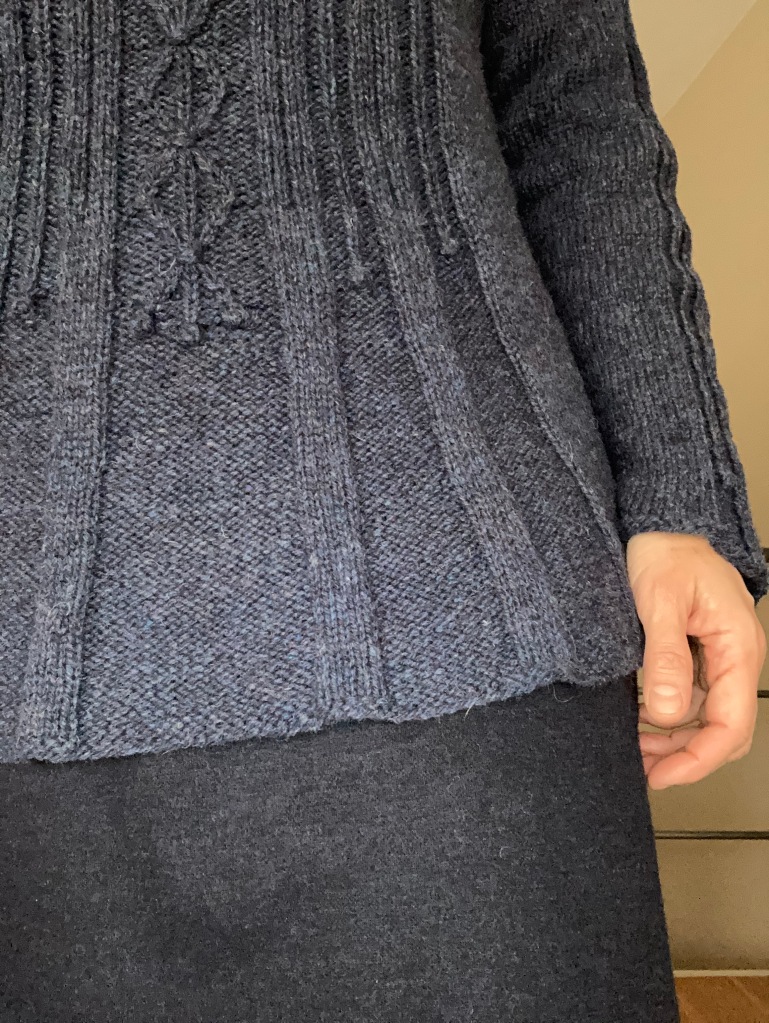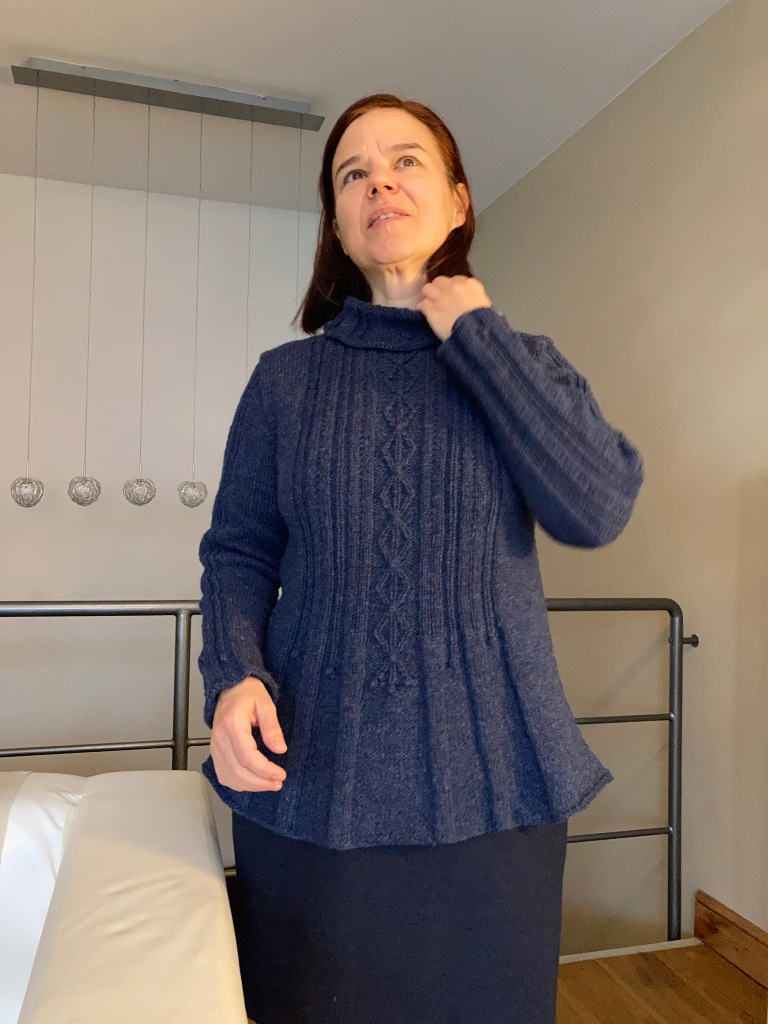
Alice Starmore is my favourite knitting designer and I have just finished my third Starmore project, the Strathspey sweater. I used the original yarn from Virtual Yarns: Hebridean 3-ply, Colour: Storm Petrel.

- I used a 3 mm circular needle to get the right gauge.
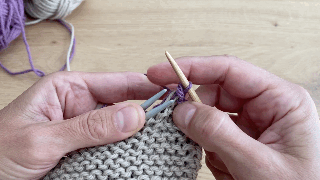
- I did not use a cable needle to cross the stitches. I find that too fussy, especially when crossing a single stitch, as in this design.
- I knitted the bodice on a circular needle. (No reason to have side seams. These add bulk to a garment. I am a curvy girl and will do anything to have a more sleek garment.)
- I purled a round around the hem and the bottom of the sleeve and collar.
I made a couple of modifications to the design to adapt it to my body type. I have quite a large bust and “strong” upper arms (a euphemism!) but rather narrow shoulders and short arms.
For the sleeves, I wanted less fabric around the wrist.
For the upper bodice, I wanted narrower shoulders, a tighter neckline and less fabric around the armpits than in the original design.
The sleeves
I started with the amount of stitches the sleeve has after all the decreases, i.e. 53 stitches.
I knitted 10 rows before starting with the knot pattern. This gives a small flare at the edge.
I increased every 6th row of the sleeve (I have quite short arms).
The sleeves are knitted in the round up to the armpit and then knitted flat for the sleeve cap.
The sleeve cap
To have less fullness around the armhole, I made a narrower sleeve cap, i.e. I decreased more steeply in the beginning.
(I decreased as follows: 5 sts at the beginning of the first 2 rows, 3 stitches at the beginning of the next 2 rows, 1 stitch at each end of the next 5 rows, 1 stitch at each end of every following alternate row 9 times, 1 stitch at each end of the next 5 rows, 3 stitches at the beginning of the next 2 rows, cast off the remaining stitches.)
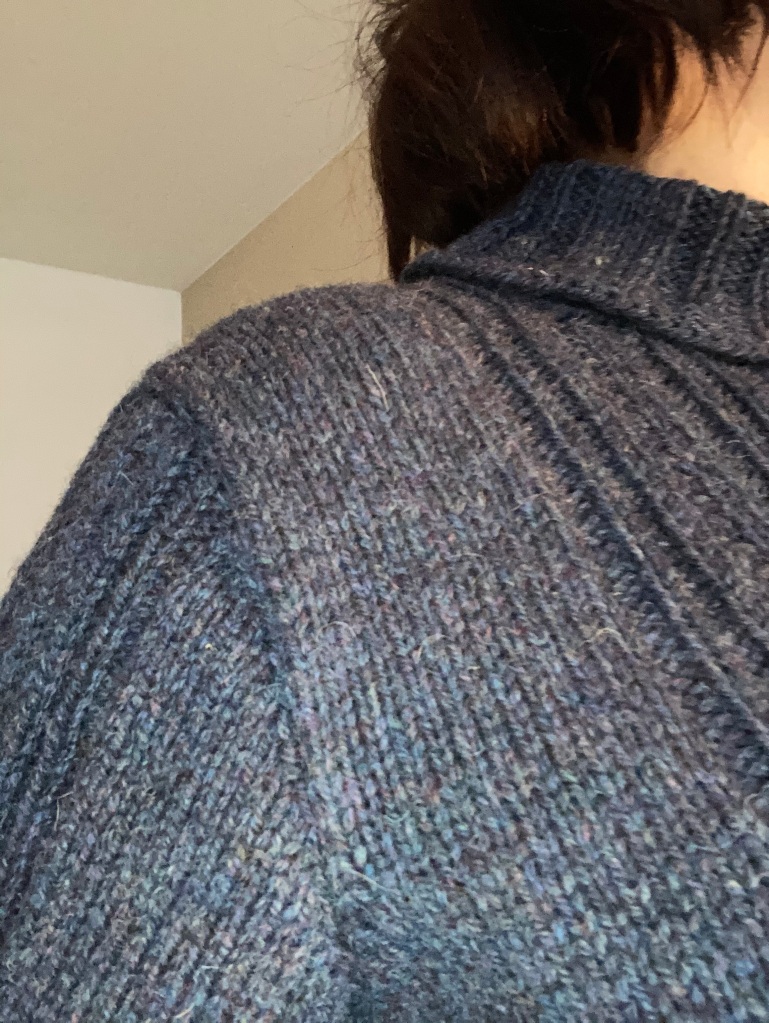
Shoulders and neckline
When decreasing for the neckline, I kept decreasing until I had 23 sts on each shoulder (instead of 26).
I used German short rows and the 3-needle bind off for the shoulders.
I decreased 4 stitches in each centre panel and then made sure to pick up more stitches on the sides to arrive at 90 sts to make the collar. This means that my stitches were distributed differently around the neckline and I had to check to make sure that I get a knot centre front.
I knitted the 6 rows of ribbing on a 2,5 mm needle to make it nice and tight.
The finishing touch
I do not really block my knits. I wash them on the “hand wash” programme in the washing machine and lay them out to dry flat. I press the stocking stitch parts lightly with a steam iron.
Do not judge the fit of this sweater when it is fresh off the needles. You need to block or wash it to see how much ease there is in the pattern.
…and finally thank you…
…to the kind soul from the Alice Starmore Knitting Group on Facebook who pointed out that the middle stitch in the stocking stitch panels changes from purl to garter stitch after the first repeat of the chart. I would have missed that fine detail!
I can warmly recommend joining the group: lots of lovely people and useful and encouraging comments!